Translate

Wednesday, January 29, 2020

My Biggest Project, Summing it all up

You may have seen some of my videos on you tube. I haven't done anything like that in almost 10 years and recent news from one of my Doctors made it clear to me that I'd better get the rest of things organized and put together sooner rather than later.

The first project I chose was to gather all of the material on my lilies from the garden to the drawings, paintings and designs for merchandise.


I'm not able to take the project through the computer and production phases so I've packed it away until I can find someone to help me take it from there.

In the meantime I'll be rounding up all the other materials on several subjects.

I love the idea that someday when I'm no longer able to do the gardening, drawing or painting that I'll be able to enjoy all of the great stories and photos myself or show them to others who might be interested. It means that no matter what happens to me art and flowers will always be part of my life.

Here's a list of the next projects I'll be working on:
Sunflowers
Iris
Dala Horses
Painted Furniture 

As you can see There's a lot of work to do so there may be longer gaps between my posts.

Keep Reading and Commenting. Your Feedback helps keep me going.

Thank You

Tuesday, January 28, 2020

My Sketchbook, Ideas and Work in Progress


I grow daffodils in my garden so this started with photos of those and I used drawings to tie them together but this is nothing more than an idea at this point. Perhaps in doing a drawing or painting based on this general composition. I'm not quite sure where it's headed yet but I enjoyed working on it.


As always I start with photos of the flowers that I have grown and then add bits of other things to it before it gets to the drawing stage.


These may never go anywhere but I do refer to them from from time to time to get the images accurate. I just used the daisy page this week while working on a small painting of daisies.


Here there are photos of things I've painted, magazine clippings and some drawings finding their way into an idea. A long way from that happening but it's a start.


The yellow horses are photos of wooden horses that I had designed, carved and painted. On this page they're used for inspiration for designs that I plan to use to make rubber stamps from.


This page is Christmas Horses in progress. They're being painted in Gouache and outlined with black markers in various sizes. 


Here you see the design before and after the marker outlines have been added.


Here's how that Page looked when I finished with it.


Here are close ups of a couple of the other horses.


This page is all stages at once in a couple of different projects. As you can see my sketchbook is nothing to save for the ages and most of the "good stuff" has already been pulled out to use or share.

On Feb.3,2020 I pulled this page out. Saved the patchwork horses and threw the rest of it away. Including that photo of the red horse in the center. It was just not one of my best designs and with hundreds of good designs, we'll never miss it.

For me, this is just the way things should be and less for people to deal with when I'm gone.

Your sketchbook needs to suit you purposes, this is just what I'm doing with mine.

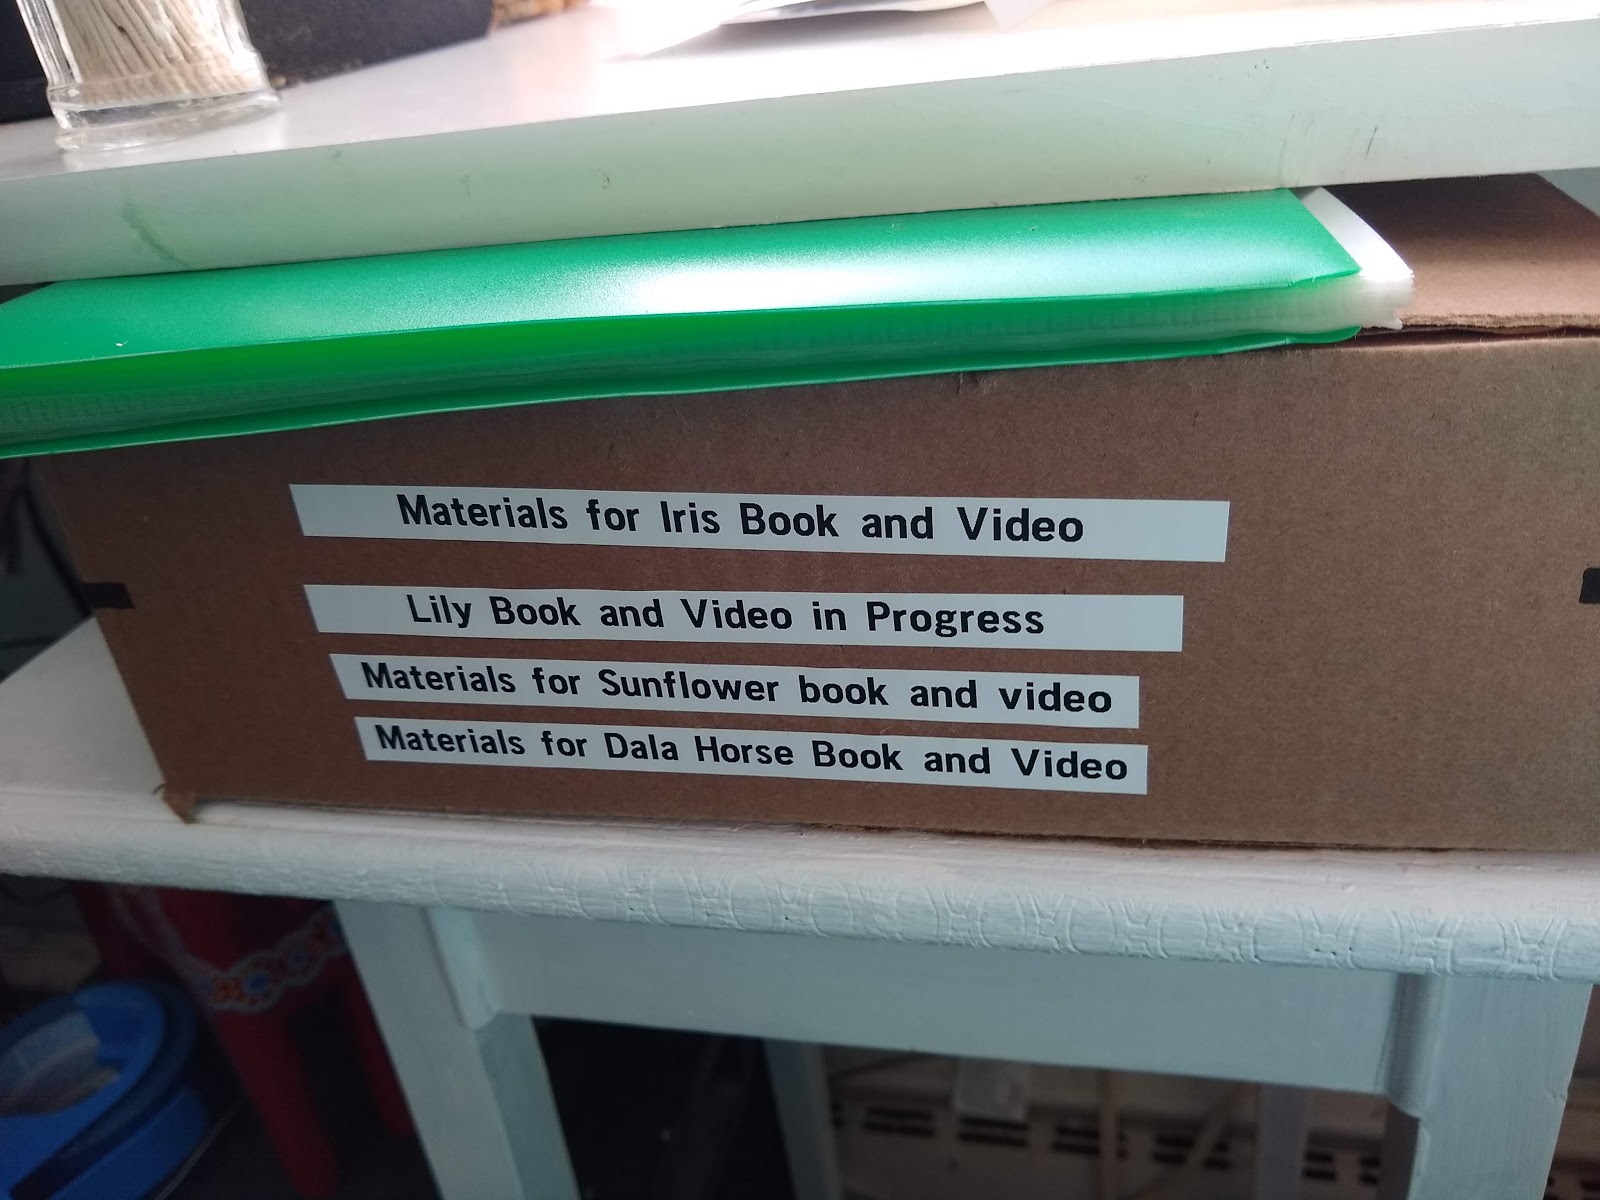
On February 17, 2020 I removed all of the dala horse pages and put them in the dala horse box to help keep me more organized.

As you follow this blog you'll hear more if anything comes of these ideas. It also reminds me to keep working on them so thanks for joining me on my journey.

Monday, January 27, 2020

Evolution of a Pocket Painting

Here's another project in my series on ART FOR SMALL SPACES.


Miniature Still Life Painting


This started with a celebration of color applied with a small palette knife.


I was inspired by one of my old paintings to try painting a vase and flowers over it. My Favorite cousin gave me this vase decades ago and though the actual vase broke years ago I take it's memory everywhere I go.


The real trick would be whether or not I could paint it about an inch and a half tall and less than half an inch wide. Very tiny brushes were required.


Because I was working so tiny I decides to use daisies this time using the smallest brush I could find. By the time I got to the centers of the flowers I had to paint them in with a toothpick.


Here's the pair of finished paintings together.


I liked it quite a bit at that point but decided to see how far I could push the idea by adding a teapot, cups and saucers. Even more delicate work than painting the vase.


Realizing that all the white of the daisies would throw the balance off. I decided to research what sort of blue flowers that I could add.


I settled on turning some of the daisies into Grecian Wildflowers to balance with all of the blue in the dishes.

Friday, January 24, 2020

Starting Out Small, The Big Surprise

In the 52 years I've been painting I've gone back to this sort of work (knife painting) again and again in sizes up to five feet across.


Today I turned the process upside down on a canvas panel that was only four by six inches (10.16 x 15.24 cm) and my smallest palate knives.

 
The real surprise in the process was that doing the small one was every bit as fun as working really large. it's just all about the colors and textures.


Knife painting can be soothing, in spite of the name of it.

I looked at this painting a while and then got kind of a fun idea. I used to paint vases and flowers using these as backgrounds so I thought it would be fun to give it a try in this size too.


Here you see it with one of the inspiration paintings. It was a real challenge to paint the vase so tiny this time.

Because of the colors used in the background this time I decided to use daisies and was able to refer to my garden photos on the inspiration page of my scrapbook to help me get the various shapes right. I painted these with a size # 1 liner brush. By the time I added the paint to the centers of the flowers I had to use a toothpick!


I was very happy with the results. Imagine having a "real" painting tiny enough to pop in your pocket or purse. Perfect for people that are on the move a lot. Everyone needs art in their lives, no matter where or how they live. This just did my heart good and I think it will do the same for others as well.


I had done something similar to this with daisies 15 or 20 years ago. It's nice to know that I could have this one with me always, even if I end up in a nursing home.

Thursday, January 23, 2020

A Great Way to Organize Tubes of Artists Paints


This container was perfect to round up art supplies all in one place. It holds palate knives, brushes, small canvas panels and paints. The problem was is that you couldn't tell one tube from another.


Adding a paper label over the end of the tube from one side of the paper label to the other makes a perfect place for a stroke of paint so that you can see what color it is right away.


It didn't take long to do and means that I never have to break the flow of a painting to find the color that I want.


Most of us are living and working in smaller spaces these days so even a simple change like this can make everything easier and more pleasant. Give it a try and see if it works for you.


It's surprising what you can fit on those tiny canvas panels. See what you can do with them too.

Tuesday, January 21, 2020

Growing Flowers Indoors, Capturing them in Ink and Watercolor


This red daisy was left to me when my Mother passed away last summer and it has continued to bloom at regular intervals ever since then.


It spent the summer out in the garden with some violets and lily of the valley in a big, old galvanized watering can by the tea table.


It's spent the fall and winter here in the house with me.

This time as it blooms I started with a drawing in markers, and followed with watercolors.


Next, I tried drawing on top of the watercolors.


With a little bit of effort and a few supplies you can enjoy parts of your garden all year around.

Wednesday

It's day 2 working with this flower. I'll be using watercolor and gouache today, maybe a bit of pen and ink along the way.


I set up in my mini studio(just a long, wide shelf I use as a workbench) in front of the window today. It's my favorite place to work and has the best lighting in the house.


Here's the inside of the card sitting next to the flower. It's the way I decide how well I'm doing with the drawing or painting.


It's not an exact likeness but i think I've got the main look and feel of it.


Here you're seeing the envelope compared to the flower.


And here's the envelope against the inside of the card.


After that I couldn't resist doing a bit of outlining on the envelope to sharpen the image.


 Next you're seeing the finished envelope along with the front of the card. I concentrated this time on learning to get the contours on the leaves which as you can see still more or less eludes me.


You can see how nice the deckle edge from the inside of the card frames the front of the card.


Here you catch me in the process of outlining and get a chance to compare the outlined areas with the rest of the image.

Last but not least, here's a photo of the finished and outlined card and envelope set.


I'm saving this set for a special occasion.

Feb. 5, 2020


Here's an envelope and inside of the card. the lower edge of the card will stick out with a deckle edge behind the front of the card and has the effect of framing it.


I'm taking a different approach with the front and trying to create a design that would work well for fabric as well.

The major roadblock to this is that the leaves are an unusual shape and I haven't figured out how to paint them yet.

That's O.K. practice is a good thing and I'll just keep doing it until I can come up with the right look and feel for them.


Outlining them seemed to help and gave me a chance to take a closer look at the leaves.


Here you see the envelope and the front of the card together.